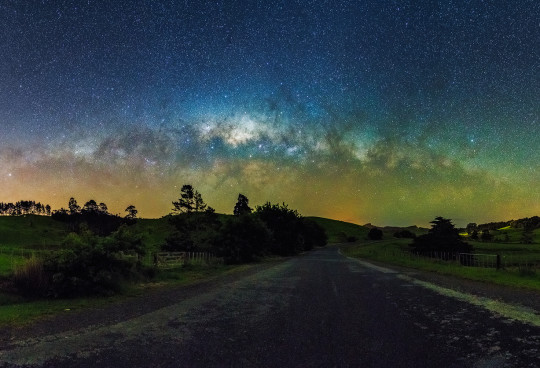
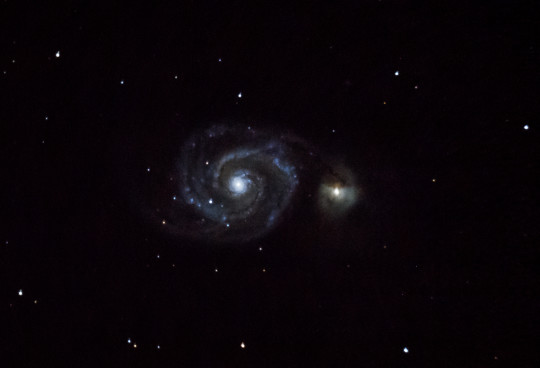
I have been using the Astronomik CLS Filter for the last few years to get rid of light pollution in my astrophotos. The filter has done a really good job so far and have given me some good results, specially when doing deep sky astrophotography.
I was planning on modifying my Canon 6D for astrophotography, so it is more sensetive to H-alpha. But before I could completely modify my camera, i wanted to give some other astronomik filters a try. Specially the UHC Filter and 12nm Ha Filter as these filters only allow narrow wavelengths (specially the 12nm Halpha.)
Below is a comparison for the CLS and UHC transmission chart.
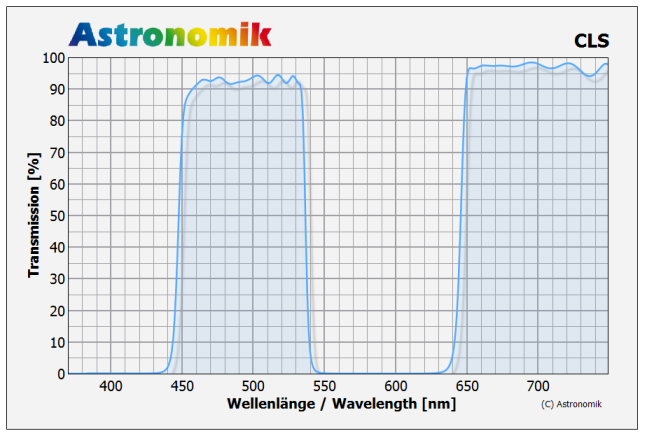
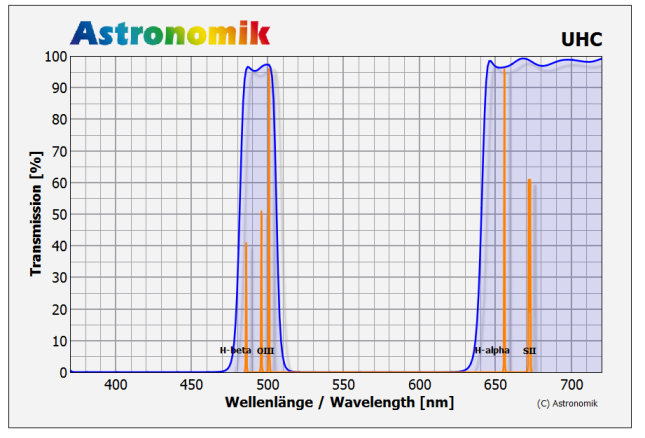
As you can see from the above images, UHC filter has a narrow transmission and thus gets rid of any unwanted light (City Lights) The result of shooting through the UHC filter is that you get a better sky contrast hence the name UHC (Ultra High Contrast),
The UHC works better on any kind of emission nebula: When a nebula is emitting light only at certain wavelengths, you may block everything else to get a very dark background with a high contrast: That´s the intention of the Astronomik UHC.
I recently got in touch with Gerd Neumann at Astronomik and discussed about the images i’ve already taken with the CLS filter and my interest in using the UHC and Ha filter and he happily agreed on sending me the filters to test, so i can give him some results and feedback. So, here is my first comparison test and feedback on the same.
The day i got my filters was luckily a clear night, so i decided to shoot any target that was in the sky as soon as i got back from work. Considering this time of the year (April) the constellation that best suits as a test target in Southern Hemisphere was Orion (Low in west)
So i arranged my setup:
- Canon 6D
- Tamron 70-200 f2.8
- iOptron Skytracker
- Astronomik CLS Filter
- Astronomik UHC Filter
- Astronomik 12nm Ha Filter
I used the same settings for CLS Filter and UHC Filter. I should have used the same for all others but due to light pollution, i could not use high ISO without the filter and at ISO 3200 Ha transmission was too low (As mentioned these were test subjects, so will soon do another article comparison which uses same settings for all images)
- Settings for DSLR images: 60sec, f2.8, ISO 800
- Settings for CLS and UHC Filter: 60sec, f2.8, ISO 3200
- Settings for 12nm Ha Filter: 60sec, f2.8, ISO 6400
Below is a comparison image of all test shots.

Astronomik Filter Comparison – Orion
Which one do you think gives a better result ? Let me guess “60sec x 1 UHC” ??
I am totally impressed and surprised on how much more detail you can get with the UHC filter. When i initially started using CLS filter, i though that was really awesome, but in comparison to UHC filter CLS filter does a pretty ok job when it comes to deep sky imaging.
If you plan to do imaging on objects which emit a continuous spectrum, you will note, that the CLS gives you better results! The UHC blocks too much in this case: The broader spectral window of the CLS will give you a brighter background than the UHC, but the improvement for Galaxies, globular and open clusters etc. is much better than the UHC.
Now all the above images are straight out of camera. No colour correction or white balance correction was used, CLS filter gives a better result when white balance is properly set, but UHC does not really need any correction.
Images from Ha filter look really red (as should be) as the camera is only using 25% of pixels on it. Canon 6D straight of the shelf has around 25% of Ha transmission and this is why Ha filter works well with a bayered DSLR, with other cameras it might not work as good as it does on 6D. So, if you decide to get a 12nm Ha filter, make sure the camera you used is debayered (This mean you will be using 100% pixels on your camera). With more data through 12nm Ha filter, i can mere the “L” channel data, to brighten and get more detail in the nebula.
Below is another comparison image taken through dslr, uhc filter and 12nm Ha filter:

The top row of images shows a single 45sec exposure and the below shows a 45sec x 15 images stacked. You can see how UHC filter gives a better contrast in the nebula and the background sky. Where 12nm Ha gets rid of all the stars and leaves you only with the Ha regions.
The above images are not processed in any way, so once you start processing you can easily pull more details out of those images.
Below is a combined image of 45sec x 15 DSLR images and 45sec x 15 UHC images.

Eagle and Omega Nebula – Canon 6D, Tamron 70-200 lens, Astronomik UHC Filter, iOptron Skyguider
In this images, all the detail and colours for the stars were obtained from DSLR images and the contrast between Nebulae and stars was through UHC Filter. You can easily stack more UHC only images to get star colours, but i found that merging these images give a better result than using only 1 set of data.
Overall thought on Astronomik Filters:
I think these are really awesome filters and they really help change the game. So, Instead of modifying your expensive camera just for astronomy, you can easily get these filters and get a better result. Personally, i’d suggest using a CLS filter for nightscapes as you would be away from city lights, CLS will work really well even when in the city, but considering the amount of light that a city has, you would be better off with using a UHC filter. They both have their own advantages, so talk to astronomik before ordering one. Astronomik provides excellent advice on which filters to use.
Will soon do a detailed review on both CLS and UHC filter, where i will talk about the settings to use and how to focus when the filters are attached.
Please leave any comments in the comment section. Would love to hear your thoughts on the same.
